Hello everyone! I’m making this thread that @Matthew_Goodwin will post things to in order to provide engineering tips and tricks! Matt is our Education Mechanical Engineer, and he’s great. This thread will be for all platforms, but if you have a product specific question, please ask!
Questions could be something like, what are some examples of claw design? When would I use certain parts in the kit? How do I build a chassis? All questions on all things building!
Thanks and I can’t wait to see what’s posted here! 
2 Likes
Thanks Lauren! I’m excited to be here 
To answer your first question, here is an article detailing examples of claw designs for the V5 robot. To answer your second question, there are a wide range of parts in your kit to facilitate creativity. For example, you can use the rack gears from the EXP kit (although they are not listed in any build at the moment) to create a linear slide lift!
For examples on building chassis,
here is an article completely detailing possibilities!
Additionally,
here is a Google Drive folder in which we will upload CAD files of builds, screenshots, and anything else you would like to see! Just let us know!
2 Likes
Tip of the week!
While a gear may look very similar to a sprocket, they are actually very different. Used in similar situations, gears can only interface with other gears directly while sprockets can only interface with other sprockets indirectly through the use of a chain! Check out these two articles, one going into depth about IQ chains and sprockets, while the other dives into V5 chains and sprockets.
2 Likes
Are the V5 or EXP screws making you say “screw it?” Here is a newly written article detailing the many screws employed by VEX and specific scenarios where you would use them. It can be found in both the EXP as well as the V5 Mechanical > Structure Library. This article is a great place to start for beginners in the VEX metal system! For more information on screws, see this article on how to remove a stripped screw, and this article on the overall fasteners used by VEX.
1 Like
This is great @Matthew_Goodwin! Thanks so much for sharing!
1 Like
This is so wonderful @Matthew_Goodwin! Thank you!
1 Like
This is really helpful! @Matthew_Goodwin Thank you and look forward to your future sharing!
2 Likes
We have received a lot of feedback asking to further contextualize and explain our VEX GO Building articles, to which I am happy to update y’all with some changes! You will find in Key Ideas for Building with VEX GO as well as Pieces in the VEX GO Kit further detail, more examples, and greater resources to help let both students and teachers fully grasp the concepts we are hoping to convey with the VEX GO System. The biggest change you will see is the newly added “Understanding” topic which explains not only how and why you should feel the pieces connect together, but also how and why you should be orienting the pieces in your hand in accordance with the Build Instructions, which is all done to promote more student and teacher understanding. Please let us know if there is anything else you would like to see!
1 Like
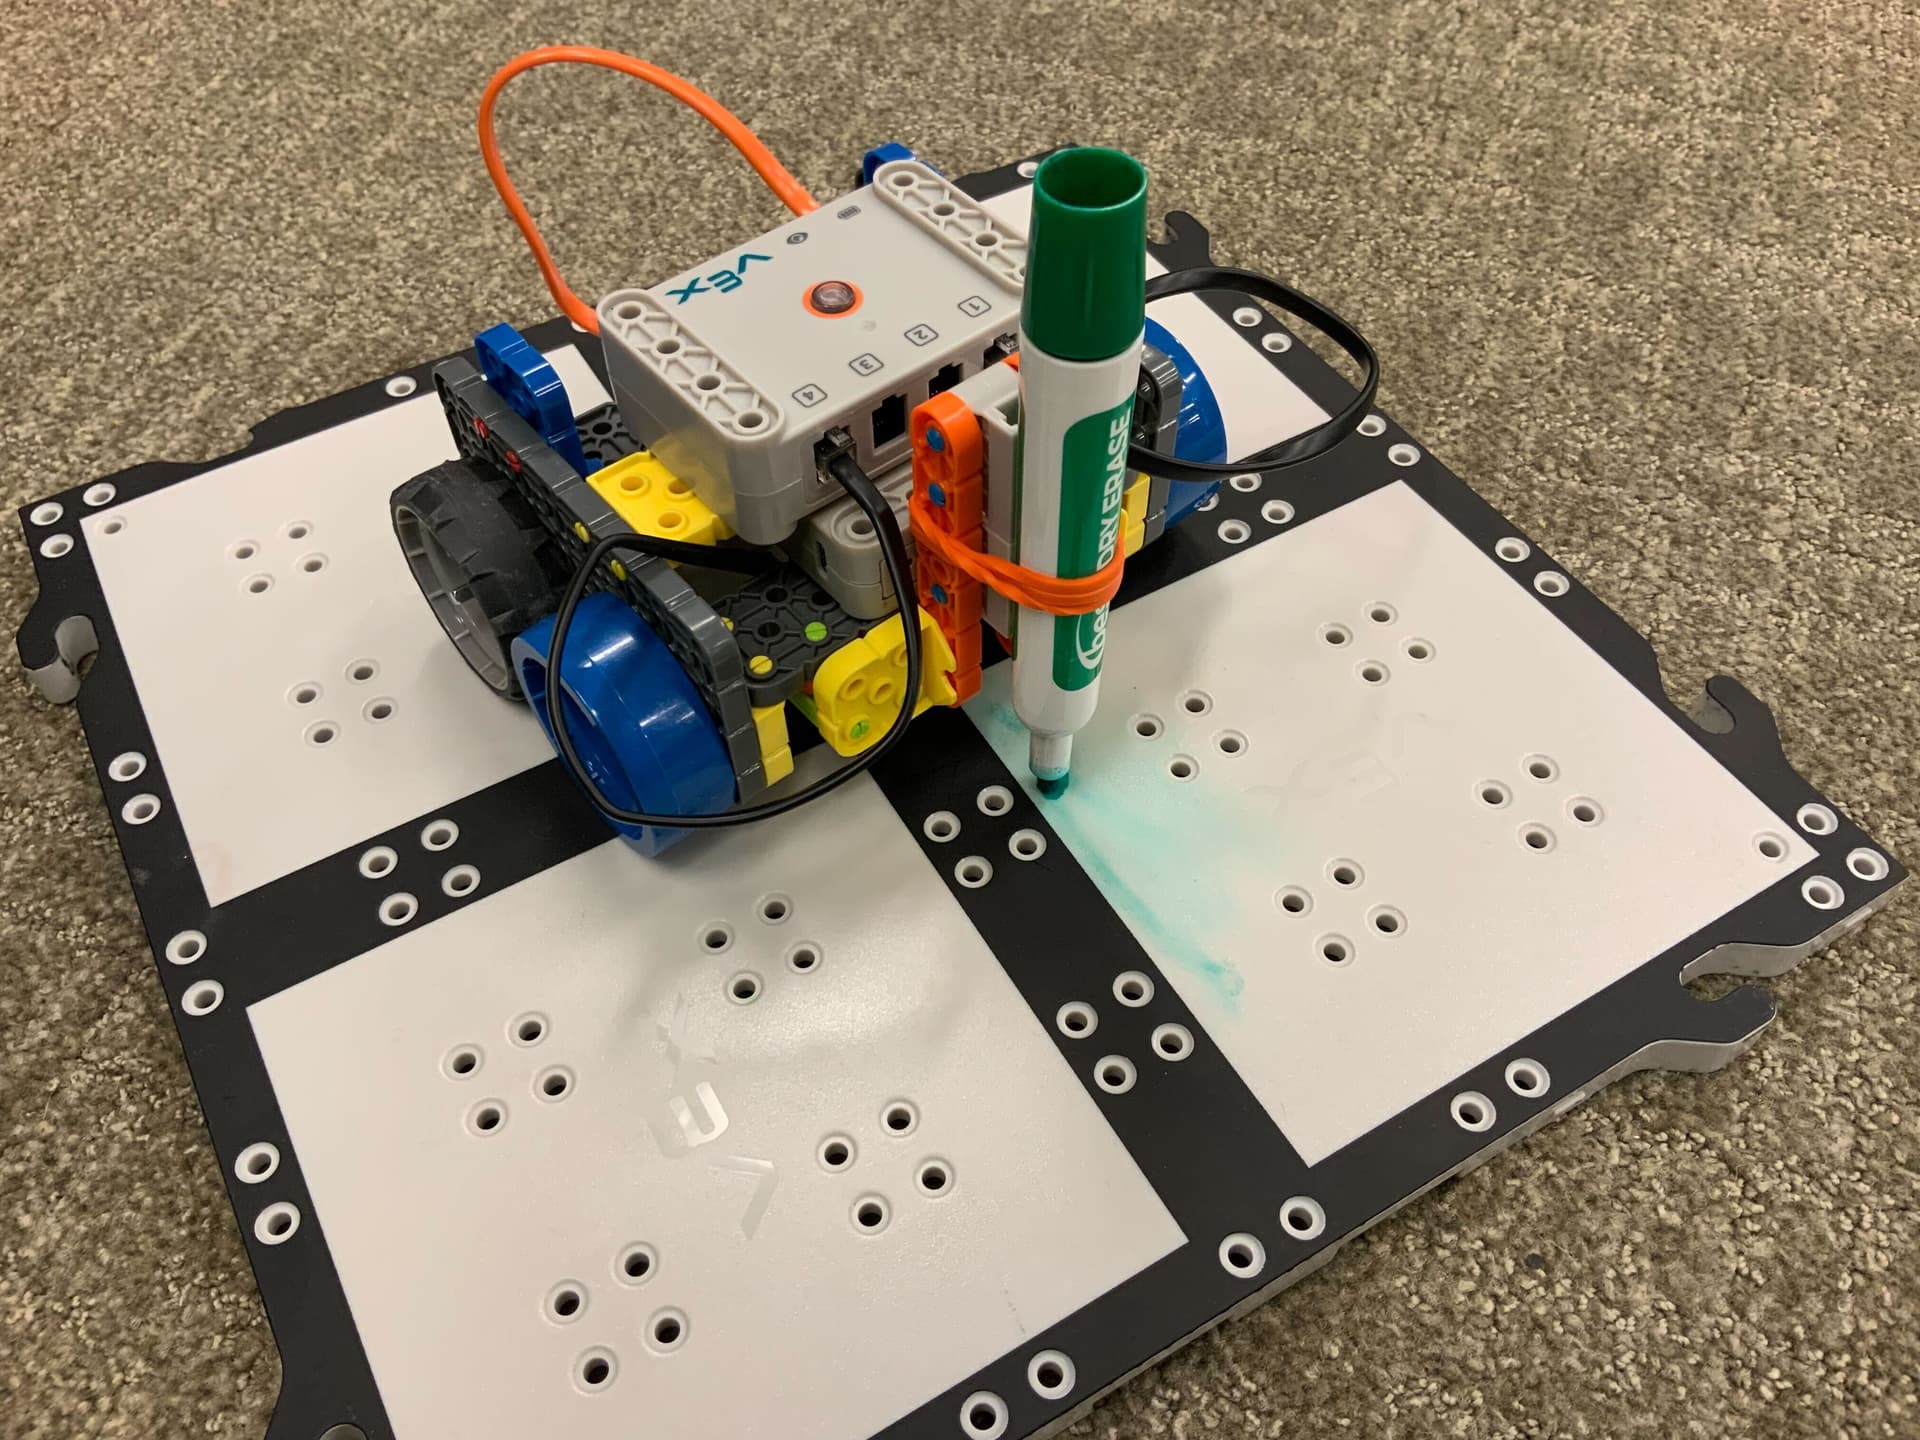
Check out the new thread VEX GO Creations! We will be uploading builds that will allow you to do more with your VEX GO Kit! Currently uploaded is the CodeBase Marker Mount. Let us know what else you’d like to see, and keep an eye on that thread!
2 Likes
Wondering how you can efficiently implement sensors into your EXP build? Check out the new Insights article: Analyzing and Applying EXP Sensor Data! The article takes a dive into optimal mounting locations, uses, and applications of sensors! It is a great place to start when looking to take your build to the next level! 
3 Likes
Check out this new GO article! Titled: Progression of Building for VEX GO, it offers a road map of building for those who are new with their GO Kits! This article was created for the purpose of making building less intimidating by offering techniques and activities that will progress you into the realm of free building. Please let us know what y’all think of it!
2 Likes
Introducing Disco! Check out the new article “An Introduction to Disco: the 2022-2023 VRC Hero Bot.” New to the VEX Robotics Competition (VRC)? This article is a great starting point as it goes over the basics of this year’s game, this year’s robot, and this year’s rules. The coolest part about the Hero Bot, to me, is that it is intended for experienced teams to be able to quickly assemble a robot to investigate the game’s dynamics. New teams can also use the Hero Bot to learn valuable building skills and have a robot they can customize to compete with early in the season. Please let us know if you’ll be competing this year! 
1 Like
I wanted to update y’all with a comprehensive list of all the new activities and stuff that came out very recently!
-
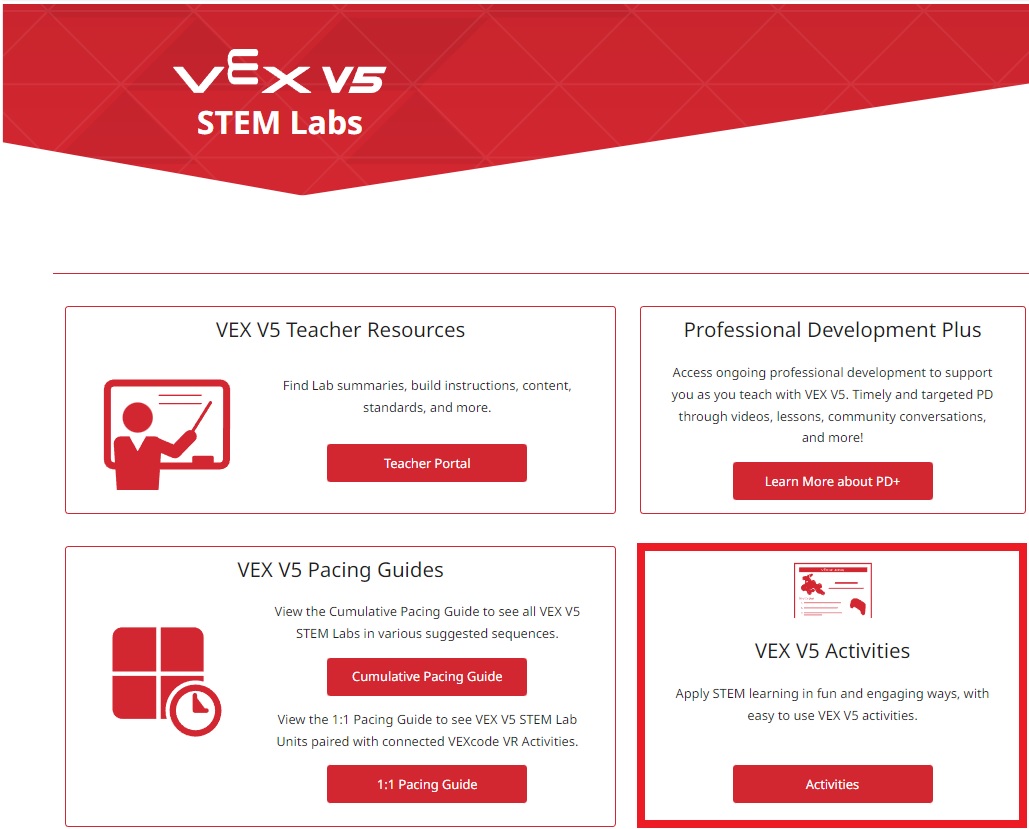
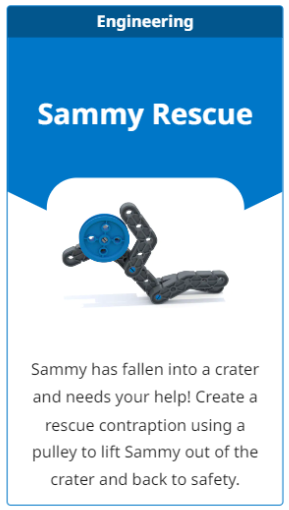
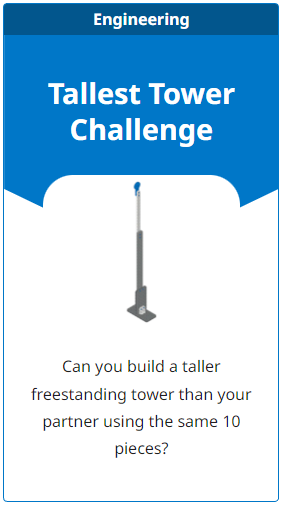
V5 Activities!
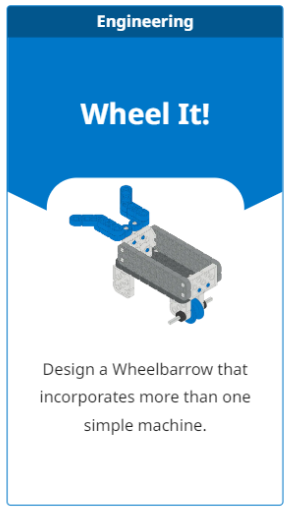
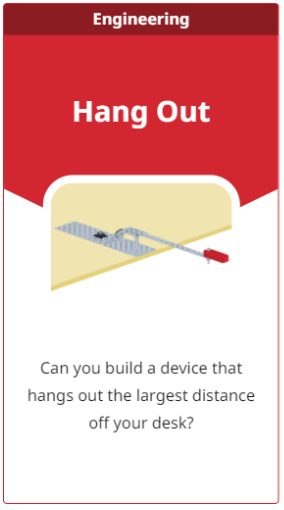
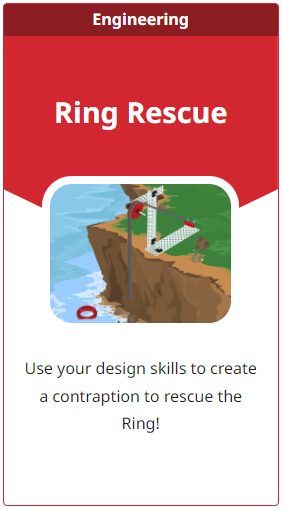
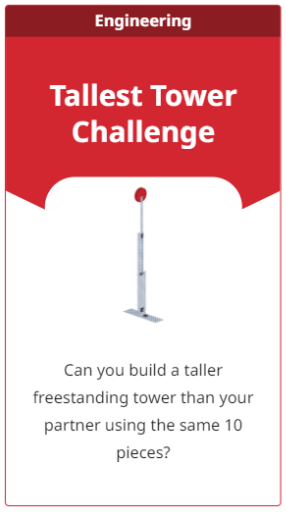
V5 Activities have now been made, and they offer more ways to engage with the VEX V5 Kit, providing simple one page exercises that blend STEM concepts with curricular content in fun and engaging ways. There are 13 new V5 Activities (3 in the Coding Category, 4 in the Controller Category, and my favorite for last: 6 in the Engineering Category!).
Please let me know what y’all think of these, and if there are any particular activities you would like to see created! For more information on how to use these activities, please see this article from the VEX Library. Also please don’t hesitate to share any creations you have made as a result of these, I really want to see some!
-
IQ Activities for Limited Kit Numbers
4 IQ Activities have been made for use in classrooms with limited kit numbers. This means if you want to build the Clawbot with your kit in a more advanced class, the next class (using the same kit) does not have to tear the Clawbot apart, and can partake in these new Engineering activities without any disruption!
In the same manner…
-
EXP Activities for Limited Kit Numbers
3 EXP Activities have been made for the same reason as the last point, limited kit numbers! What do y’all think of these? Would you like to see more?
As we continue to power on through the list of additions to EXP, check out the:
-
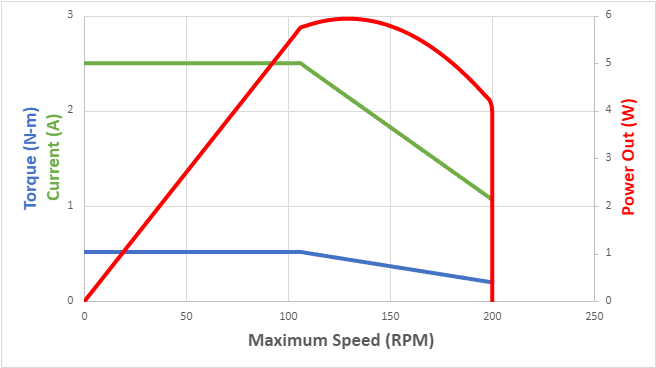
Understanding V5 Smart Motor (5.5W) Performance (pun intended)
This article goes into depth about the performance of your EXP 5.5W motors. Check this article out for more information to learn actually how your motors are able to function in the way they are!
Last for this list, but certainly safe to say not all that has come out recently;
-
Precautions and Safety Guidelines When Working with VEX EXP Robots (another bad pun intended)
This article is a great starting point detailing precautionary measures you can take with your students to ensure that everyone has the best, safest, and most enjoyable time through their use of the EXP system!
Please let me know what you’re most excited for, or if there is anything else you’d like to see done!
1 Like
These are amazing @Matthew_Goodwin! Thank you so much for sharing!
Hey y’all, it’s been a minute and I wanted to continue this thread. We have recently made an article on Building VEX IQ Claws, containing some really cool builds to view how these claws come together! We’re continuing to work on animations next to show how these claws function, in addition to many other mechanism articles possible with VEX IQ. Please let us know if there are any mechanisms in particular you’d like to see! Thanks.
1 Like
Hi Mathew,
On the topic of arm and claws I have a question with regards to the VEX GO competition ‘advanced robot’. The problem we have is that the lifting arm is far too fast to allow any sort of fine control in lifting and placing the items on the field. When using code to control the robot it is no problem because we can set the motor speed much lower. But when we use the drive mode there doesn’t seem to be a way to set the motor parameters? Is there a way to do this?
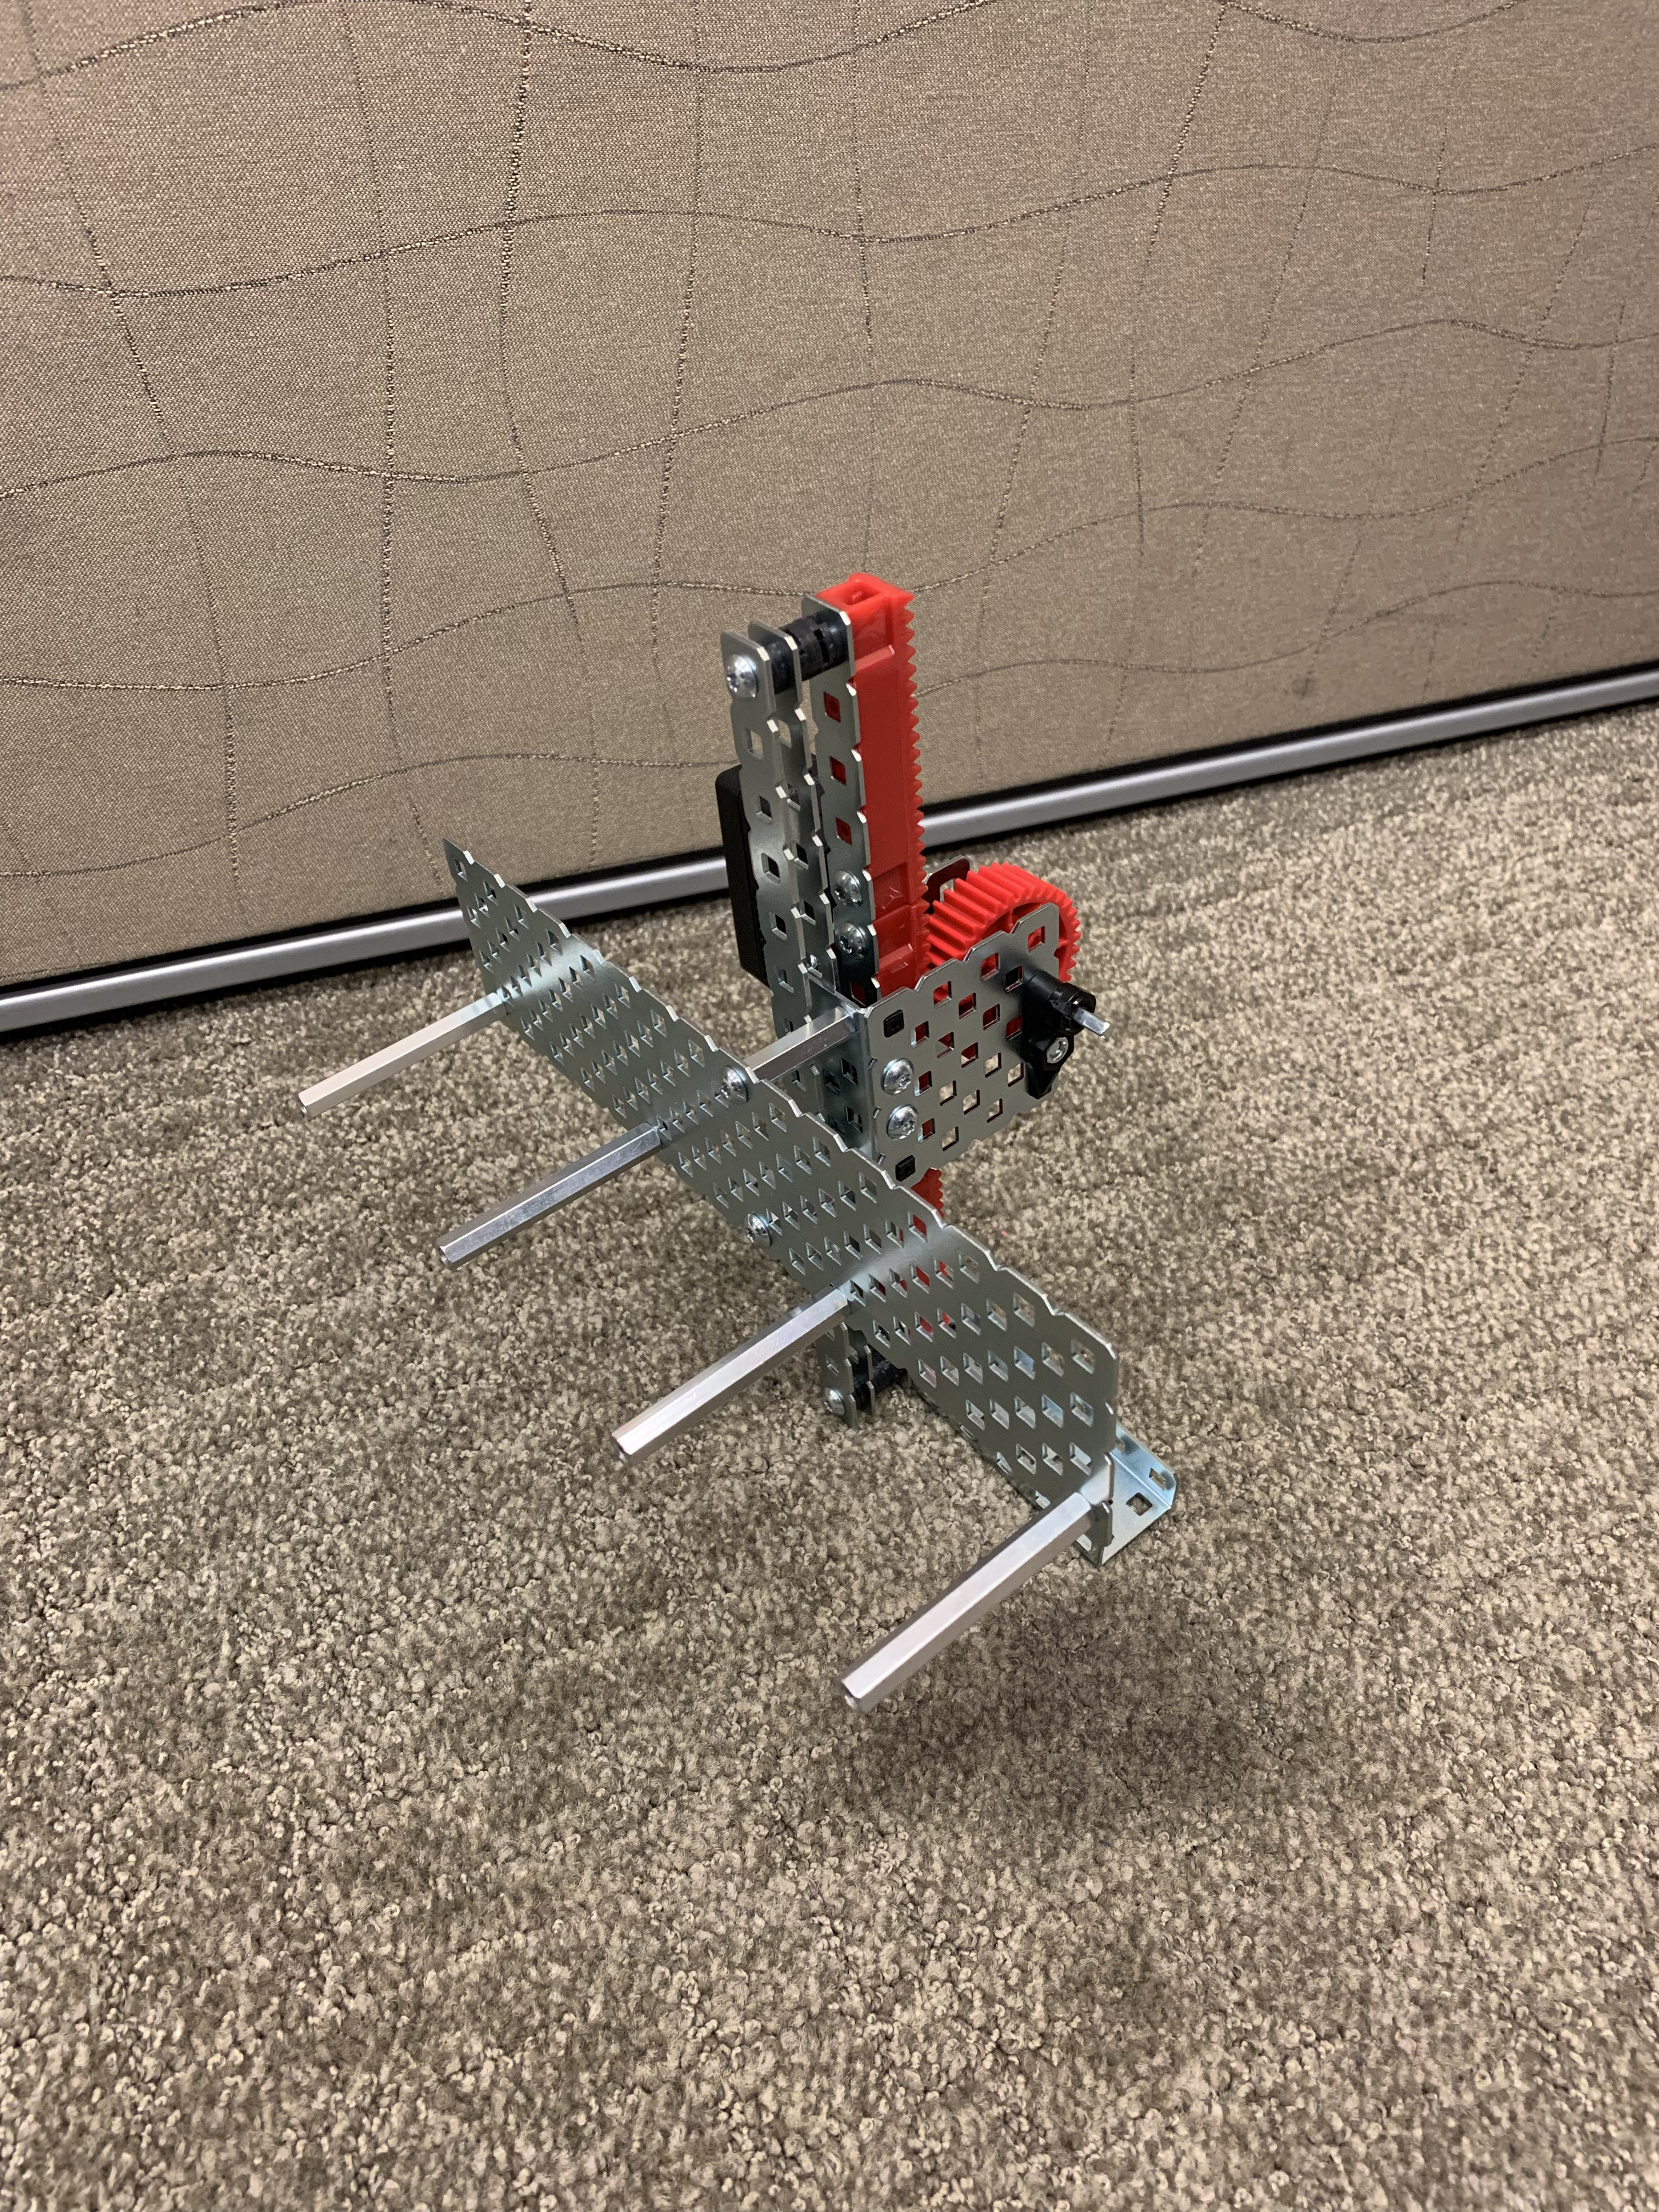
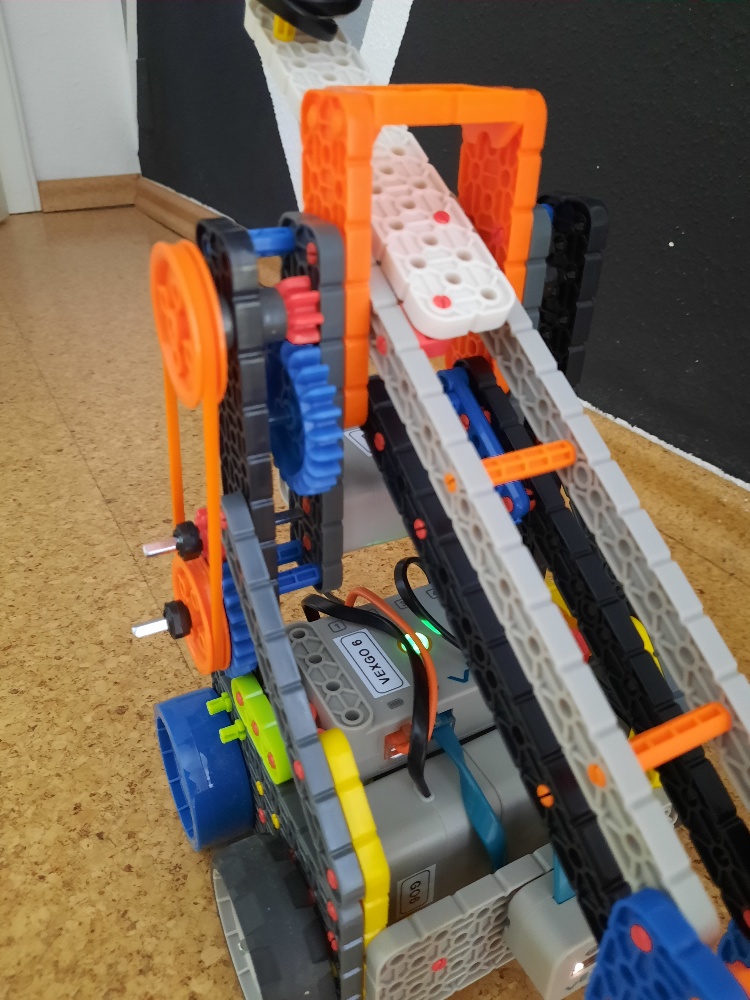
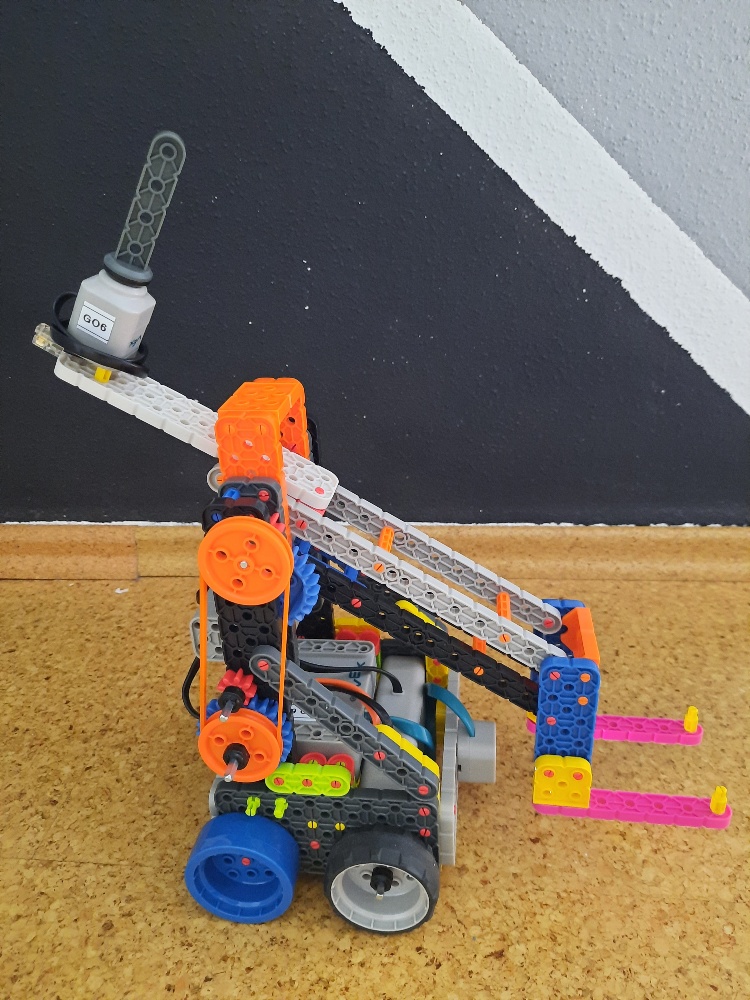
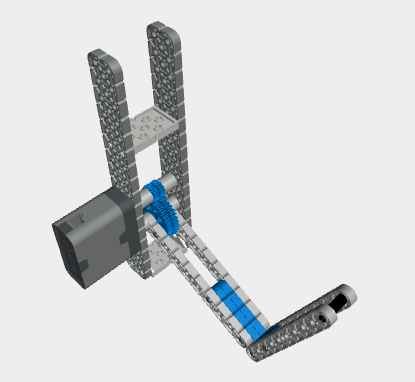
In the meantime I have initially redesigned the arm to include two speed reductions. This did work but the increase in torque had the gears flying around the room when it reached the end of travel so not really a viable solution! As a makeshift clutch I included a rubber band in the drive train to allow it to ‘freewheel’ when the arm can’t move any further. This kind of works (see image) but not sure how long the rubber band will last.
Ideally though there should be a way to control the speed of the motor for the GO competition otherwise kids get very frustrated because the arm just snaps up and down and makes the whole game very random. And in general it would make a lot of sense to be able to set the motor speed for all motors and thereby give better control for custom builds. Is this something that could be added?
Thanks for your input!
Michael
1 Like
Hey Michael!
Really appreciate the feedback! The VEXcode team has been looking into adding more in-depth motor control to the VEXcode GO Drive mode in the future, but we currently don’t have a timeline for when that implementation might occur.
Thanks Cole, much appreciated. A bit off topic but recently I’ve seen a video of a kid driving the above robot on the Mars Go competition field. It was actually using a real gamepad controller to do it. Is this also something that’s in the works?
That clutch mechanism is a really cool idea (you could say it comes in clutch)! Also yeah, using the speed reductions would result in a higher torque. The only thing I could recommend would be to maybe reinforce your supports that house the gears? So that when the arm reaches its mechanical limit, they won’t go supersonic around the room.
Another idea you could try (in the absence of motor controller speeds) is to decrease the length of your arm. This will result a smaller radius that your end of arm now follows (meaning a slower speed). You may not have optimal reach with this configuration, but in conjunction with a speed reduction and the VEXcode Controller, lifting the arm may now be a little more manageable.
I’d recommend flipping the arm backwards to the direction of travel of the base of your bot, as this will allow you to drive up close and personal with game elements to interact with them a little better with your decreased range. Let me know what you think of this!
1 Like
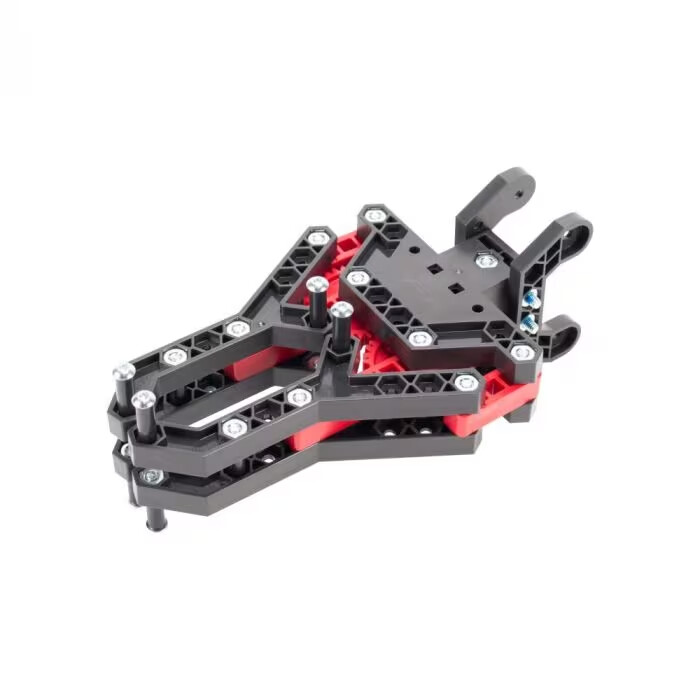
Hey y’all! One of the most common scenarios that can put a halt to our mechanical endeavors is accidentally taking apart a critical piece of machinery, like the V5 Clawbot Claw, and then struggling to get it back together. This pre-fabricated claw was included in many of the V5 Kits, and is pictured below.
I’m sure a number of us have been in that exact situation, staring at the pieces and scratching our heads, trying to figure out the best way to restore the claw to its former glory. Well, worry no more! In response to this common challenge, we have put together a comprehensive guide to help you put your V5 Claw Kit v2 back together.
This article, titled “Repairing and Reassembling a V5 Clawbot Claw (V5 Claw Kit v2)”, is now available at the following link: https://kb.vex.com/hc/en-us/articles/15516473701524-Repairing-and-Reassembling-a-V5-Clawbot-Claw-V5-Claw-Kit-v2-.
But that’s not all! I understand that sometimes, reading the steps isn’t enough and a visual guide can make all the difference. So, I am excited to announce that a video walkthrough is currently in the works and will be made available soon. This video will guide you through the entire process of reassembling your claw, making it even easier for you to get back to your engineering tasks.
I hope you find this resource helpful. As always, feel free to share your thoughts and experiences, and let us know if there are any other topics you’d like to see covered in future articles or videos.
2 Likes