Have you seen the new IQ STEM Lab Unit: Castle Crasher?
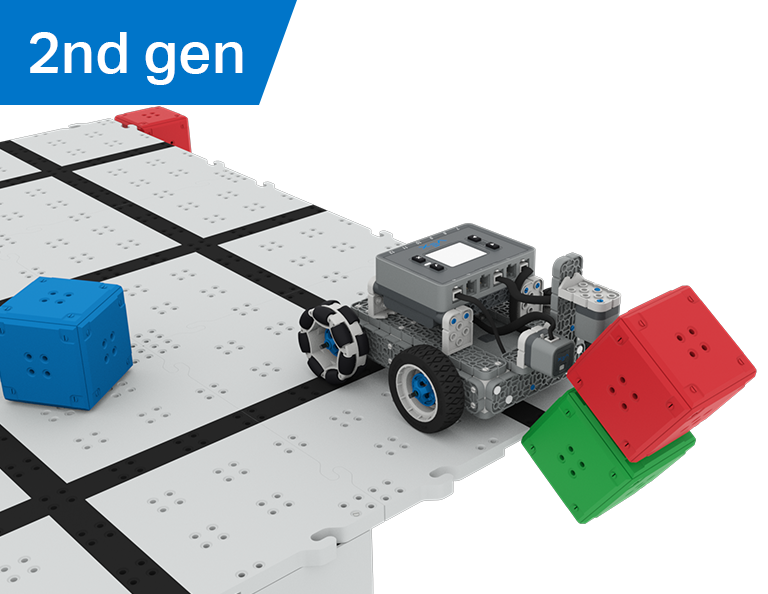
Castle Crasher is a fantastic STEM Lab Unit that builds on sensor feedback from both the IQ Optical Sensor and IQ Distance Sensor (2nd gen). In this Unit, students progress from coding with one sensor, to both sensors, and then finally to creating and tuning an algorithm to knock the “castles” off of the raised IQ Field.
I can’t wait to hear what you think about this Unit!
1 Like
Lauren,
I’m trying to distinguish two activities in this lab for my students. Can you explain to me conceptually the difference between the Cube Crasher Challenge Activity and the Sweep the Field Challenge Activity? What coding difference was hoped for with the addition of an optical sensor in the Lesson 4 activity? Thank you for any insight you can provide.
Jonathan
Hi @Jonathan_Haynes! Absolutely! Great question 
The entire point of this Unit is to help students identify how and why sensors are useful, as well as identify the advantages to using an algorithm. Especially in cases where the environment is constantly changing (like cubes being placed in random places). Students start by hard coding movements (such as driving and turning to push cubes off the platform when they are in fixed places). However, once the cubes start randomly moving, the code that was used to hard code movements, no longer works.
The Cube Crasher challenge from Lesson 3 is meant to be done using the Distance Sensor. This is the beginning of learning how to build an algorithm, but we did it this way to provide the students with some scaffolding. In this activity, students will combine drivetrain movements (like drive and turn for specific distances) with the Distance Sensor. This allows some feedback from the environment so students can start building an algorithm. Structuring the activity in this way shows students the advantage of using the Distance Sensor instead of just hard coding drive and turning movements. There still is the problem though of the robot possibly falling off of the platform. That takes us to Lesson 4.
In the Sweep the Field challenge from Lesson 4, students further build their algorithm by introducing the Optical Sensor. This is now how students will prevent the robot from falling off of the platform. The Distance Sensor pointing forward will detect the cubes, while the Optical Sensor pointing towards the ground can sense when the robot is close to the edge of the platform, thus being able to back up and turn around to avoid falling off. This further tunes the algorithm to allow the robot to find cubes and push them off without the robot itself falling off.
Let me know if this information is helpful! I can further explain if you’d like, there were lots of reasons why we designed the Unit this way. I can also provide sample code for each of the challenges if that would be helpful as well
@Lauren_Harter Thank you! This was extremely helpful both to me and my students. I’m sure sample code for each of the challenges would be helpful. The snippet that I would especially be interested in for both the Sweep the Field Challenge and the Castle Crasher Competition is how to code the optical sensor so it keeps the robot from falling off the field. Any help you could offer on that particular coding challenge would be appreciated! Thanks again for the assistance.
Hi @Jonathan_Haynes! I’m glad it was helpful
Let me work on some sample code for that and i’ll get back to you!
I know Lauren is working on some sample code, but I think I would actually switch the roles of each sensor compared to the original outline from Lauren.
I would use the Distance Sensor facing downward so you could detect when the distance to another object is greater than a threshold amount. We know the distance from sensor to Field Tile, so if it’s greater than that amount, that means the sensor is over the edge of the Field looking down at the floor beneath?
It’s interesting to think this way too since the students will have used the Distance Sensor to detect objects previously, but now they can use it specifically for distance measurement while the Optical detects for objects. A cool experiment too in logic here since we already have two different ideas on how to code these two sensors to solve the challenge!
This is for sure a cool way to test each of the sensors in different scenarios to see how they behave! It’s also a great discussion point for students
1 Like
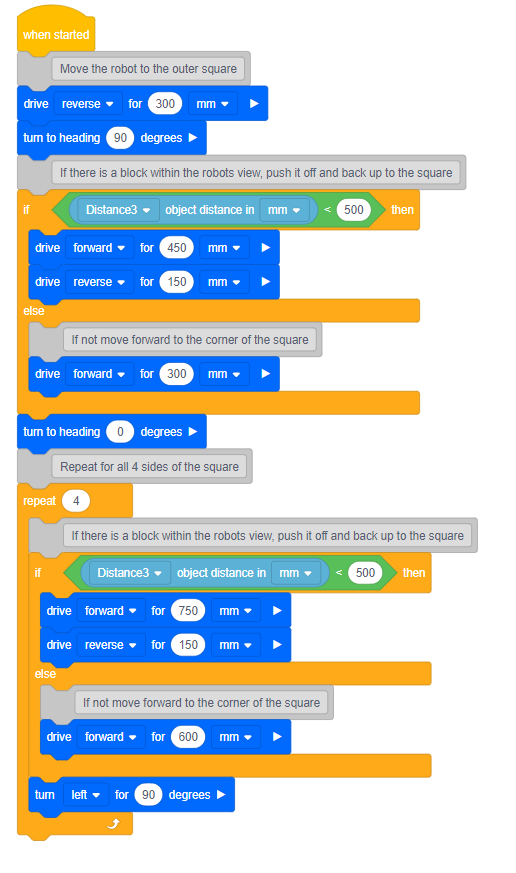
Hi @Jonathan_Haynes! I have one potential solution for you. This uses the Distance Sensor only, but is just an example. This would more so be for Lesson 3.
Here, the robot is using a threshold to see when cubes are within a certain distance. This project is only set to drive around the square once (hence the Repeat 4 block), but could easily be swapped to a forever block.
Obviously this project isn’t perfect (and it isn’t meant to be), as students will build on this in the next Lesson to further develop an algorithm using the Optical Sensor. I will make another solution for that and post it as well, so you can see the difference between the two
Let me know if this helps!
Distance.iqblocks (10.0 KB)
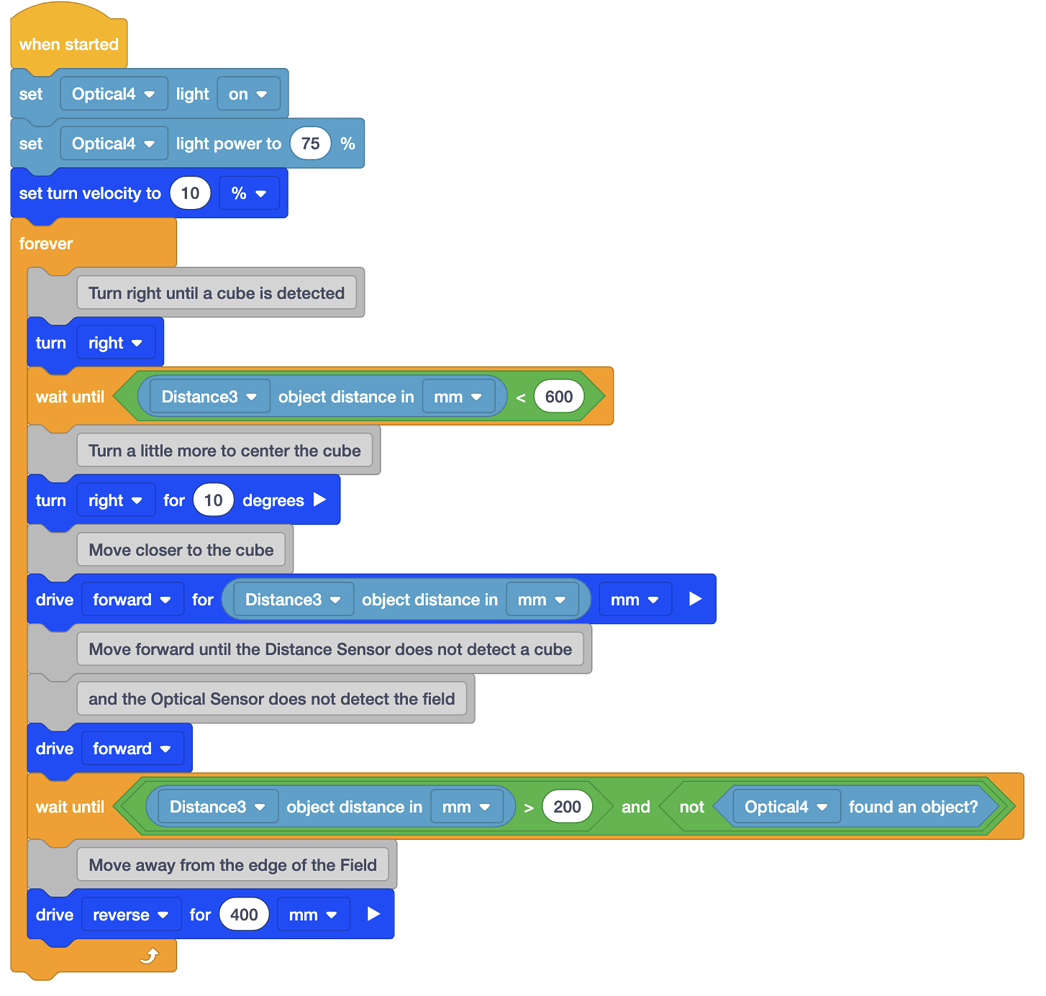
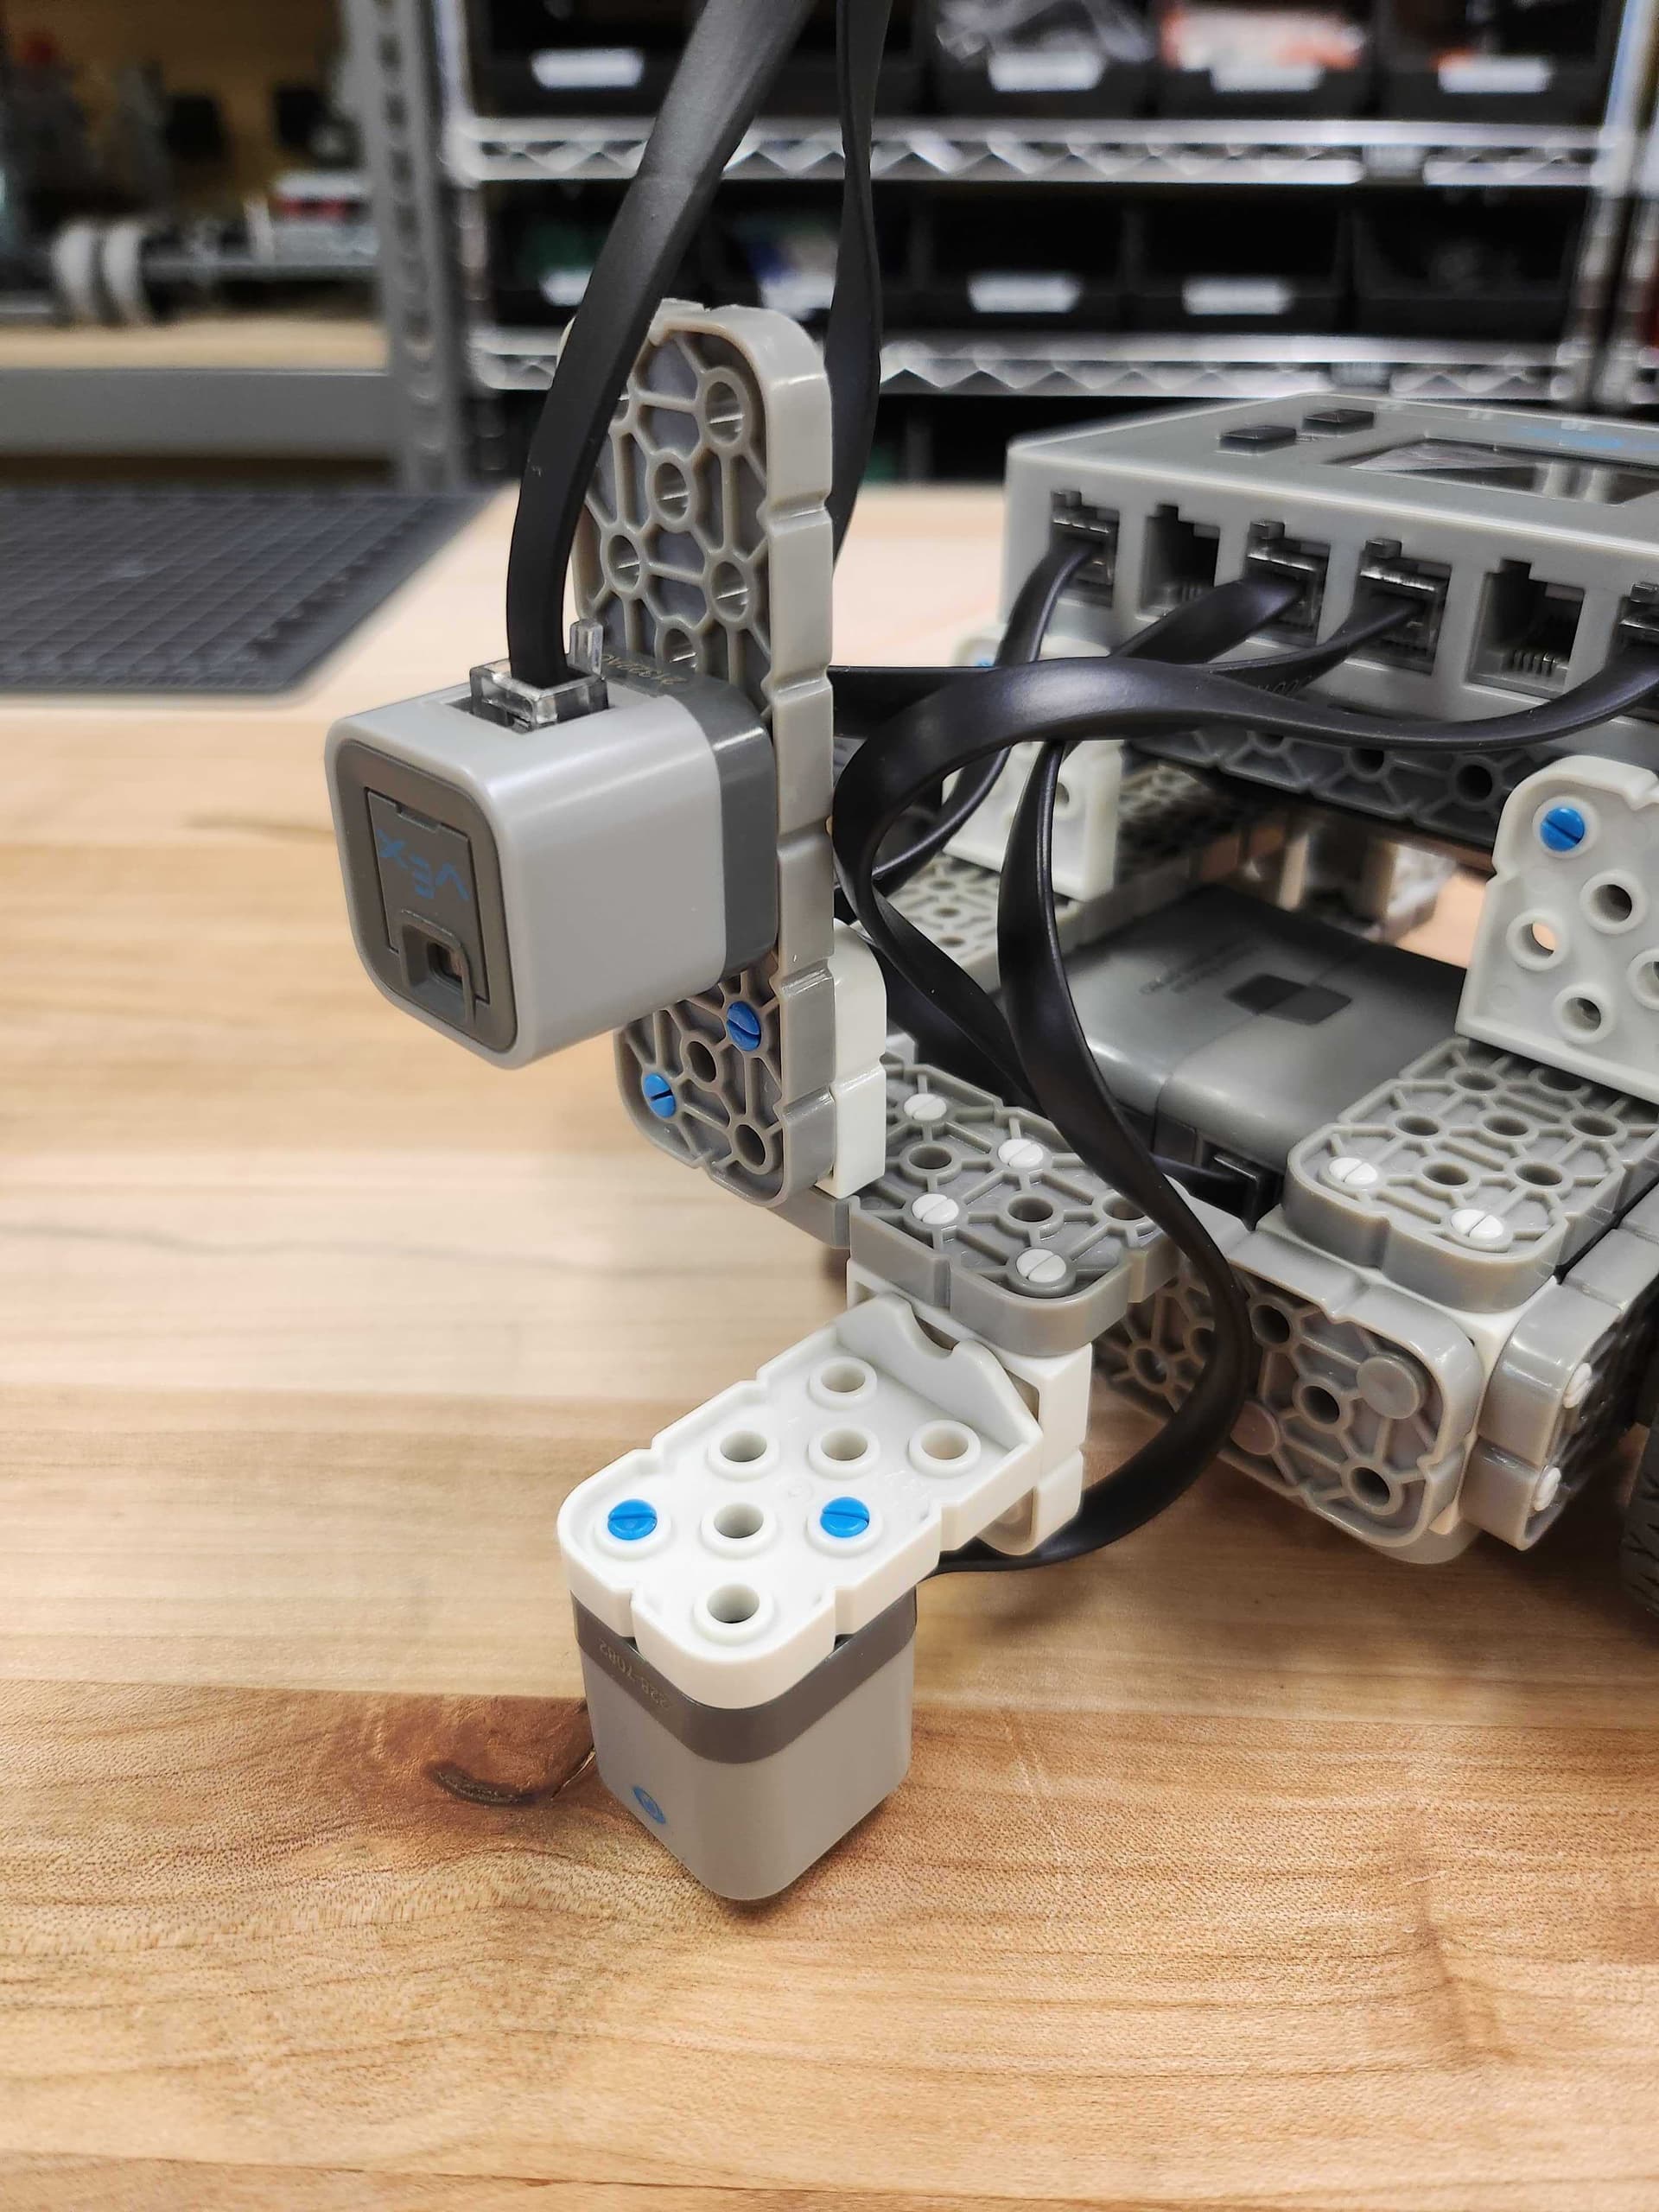
Hello @Jonathan_Haynes! Here is a second solution (from Lesson 4). This one utilizes both the Distance and Optical Sensor. As you can see here, the Distance sensor is used to distinguish when the sensor is close to a cube. The Optical sensor is facing downward to detect when the robot is close to the edge of the Field.
Distance and Optical.iqblocks (8.9 KB)
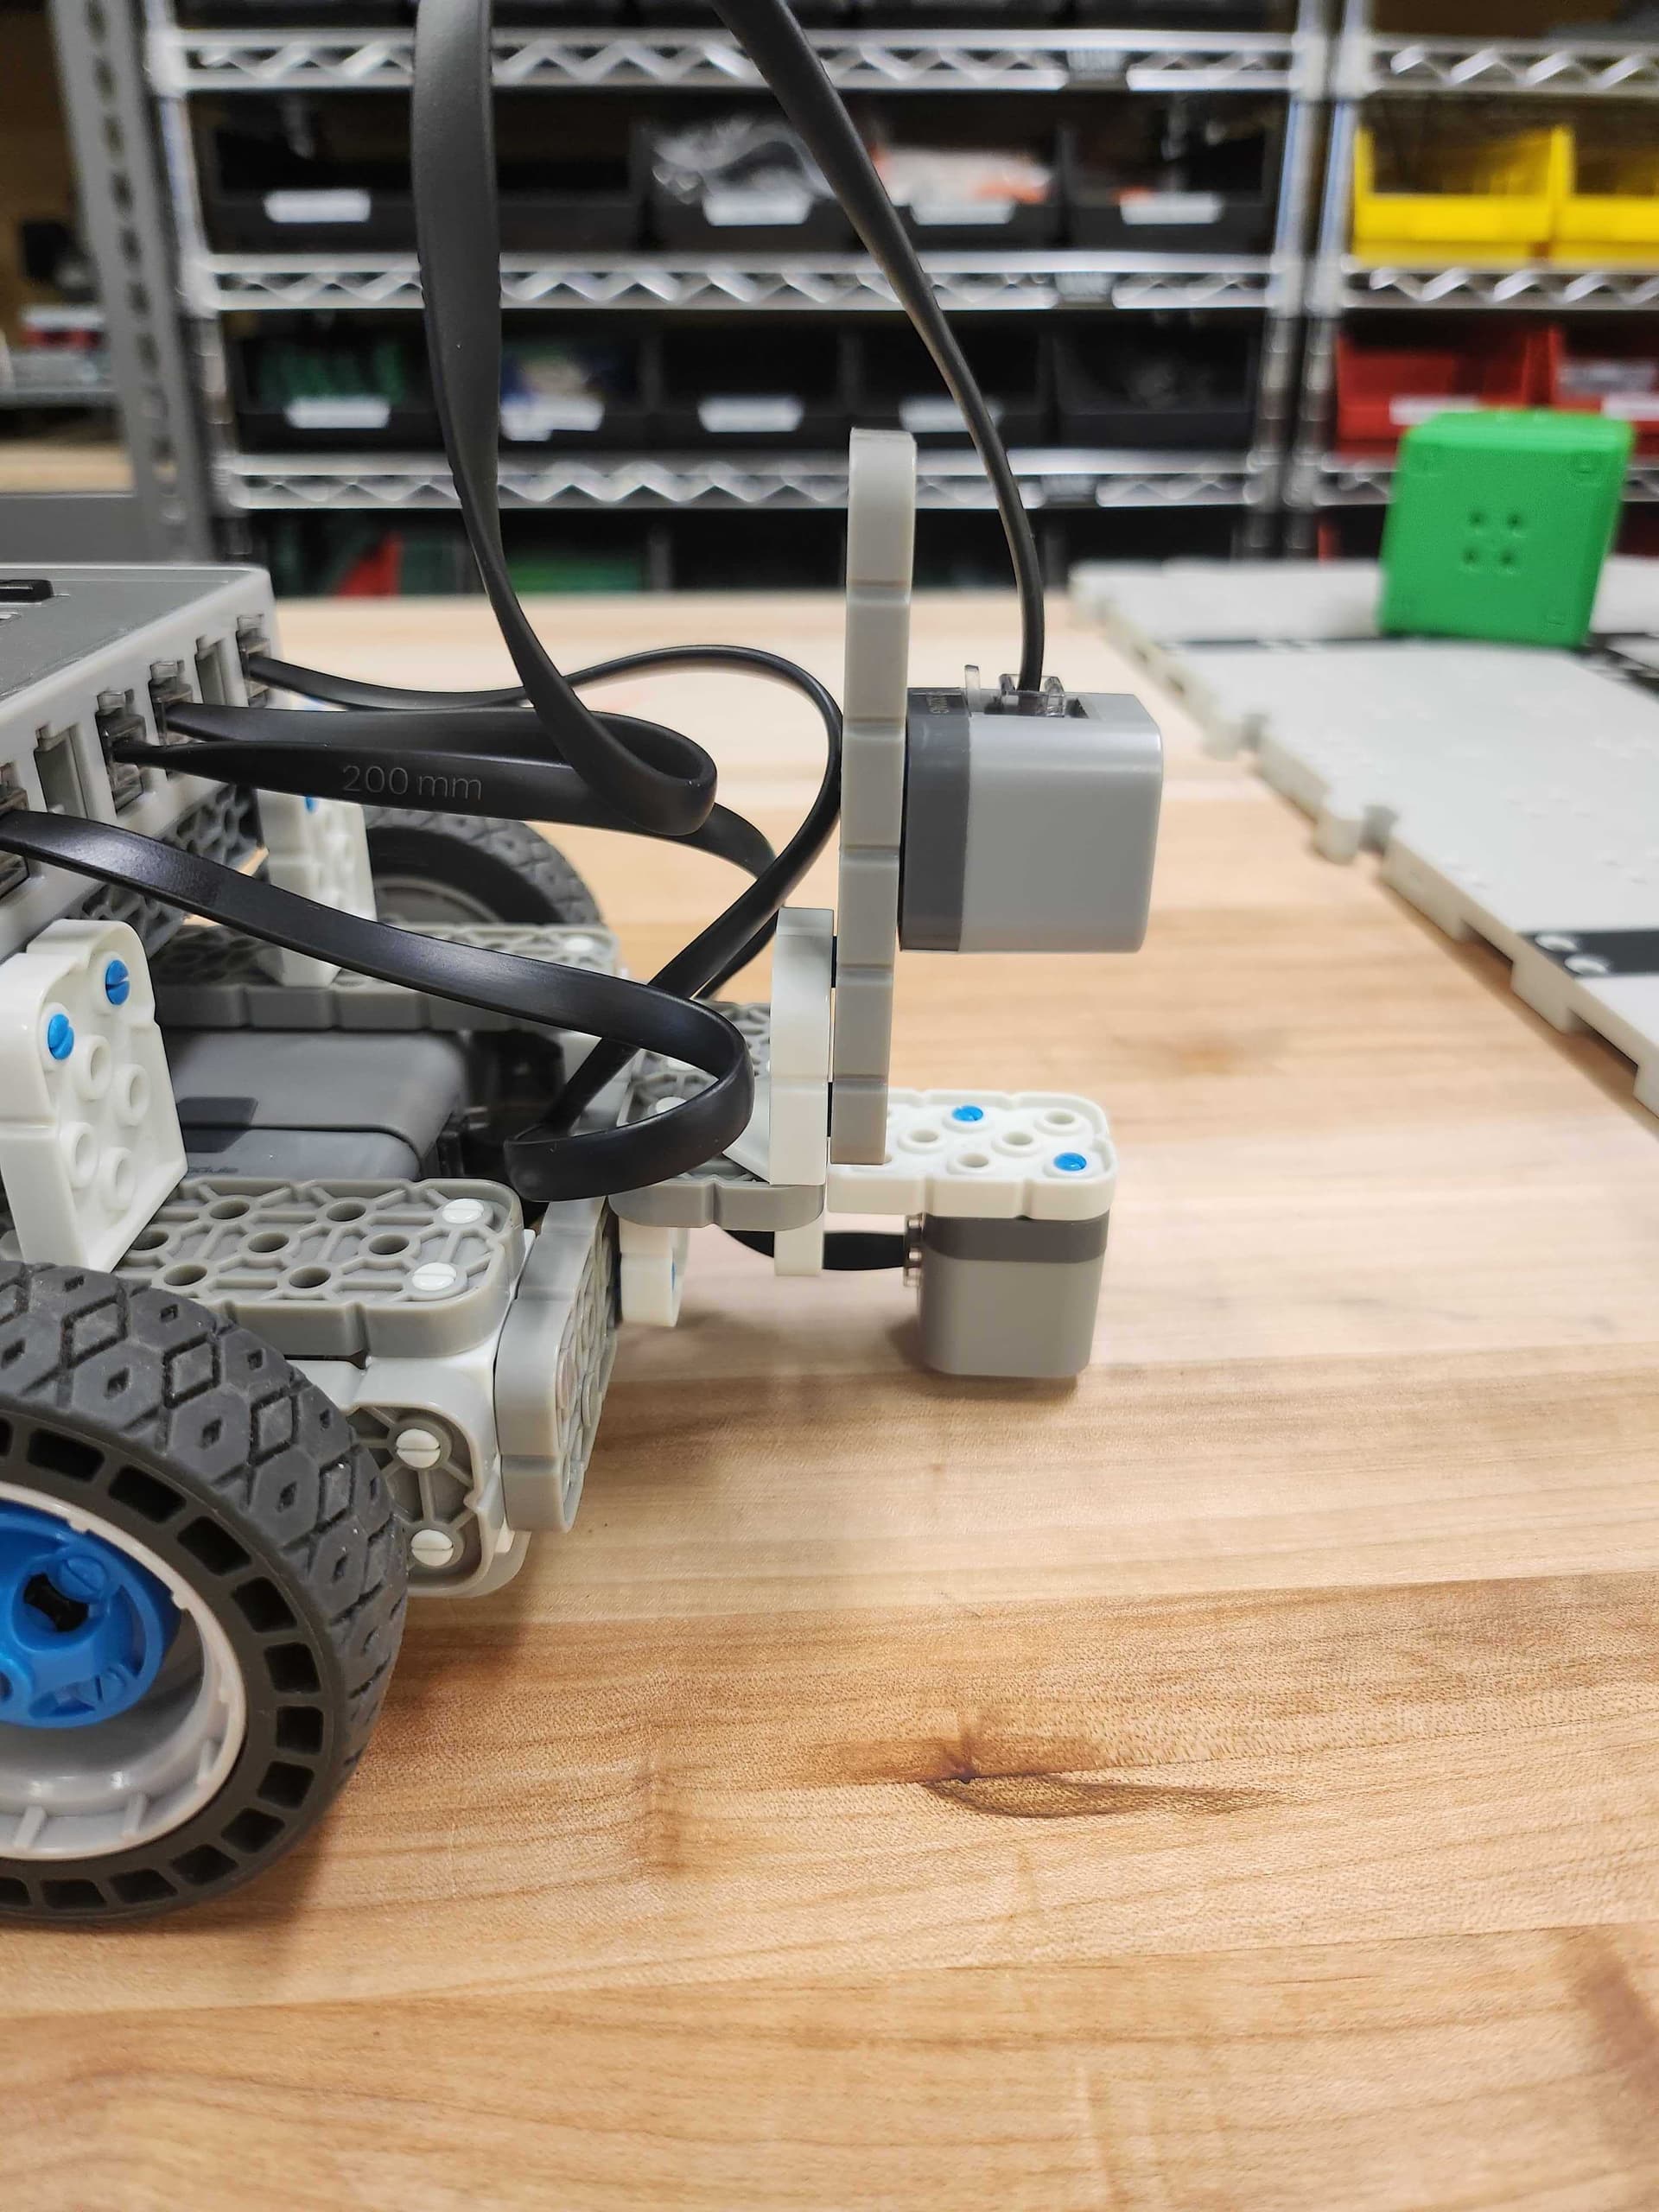
I’ve also included images of the build so you can see how the sensors were attached. Let me know if this information is helpful
2 Likes