I was inspired by the super cute VEX 123 Rudolph the Red-Nosed Robot @Audra_Selkowitz made in response to @Desiree_White-Price 's holiday activities question, and just had to make a GO version. Here’s what I ended up with:
It’s goofy, but fun! I used the LED Bumper as the nose, and added the Eye Sensor so it would activate when someone walks up to my office door. The brain and the battery are attached together behind the plate that is Rudolph’s face, and I used a command strip to attach it to my wall.
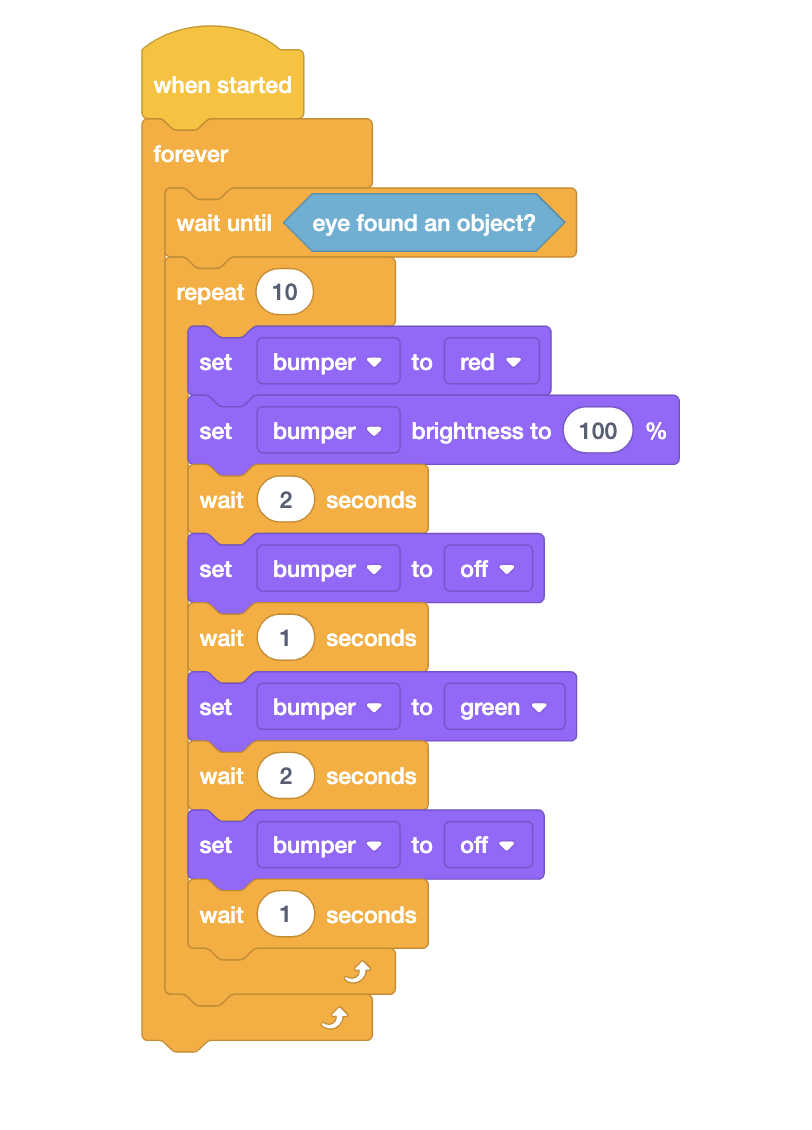
Here the code I used, in case anyone else out there wants to make one!
3 Likes
This is so awesome! What a fun activity! @Tina_Dietrich and @Anna_Blake I could see you both having some fun with this!
Thanks…I love this! I can’t wait to try it!
1 Like
I just told all the 3-5 teachers to check this out! Great activity.
Wow!! This is really neat! Thanks for sharing 
1 Like
Love, love, love - thanks for sharing. We are already on Christmas school holidays here in Australia but am bookmarking for version 2.0 next holiday season. 
1 Like
@Aimee_DeFoe I built the reindeer and connected the brain to VexCode Go, but I don’t see any eye sensor or bumper blocks to add to the coding program. Any suggestions?
I’m so glad you are trying this, @Tina_Dietrich ! I think you may need to configure your robot and that is the reason you don’t see the Sensing blocks.
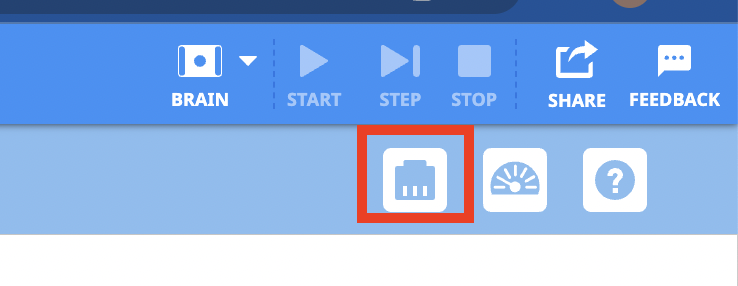
Go to the upper right hand corner of the screen in VEXcode GO and select this icon:
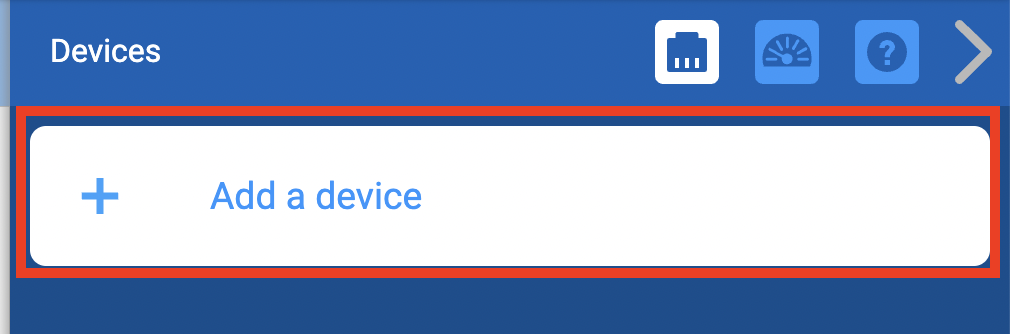
Select ‘Add a Device’
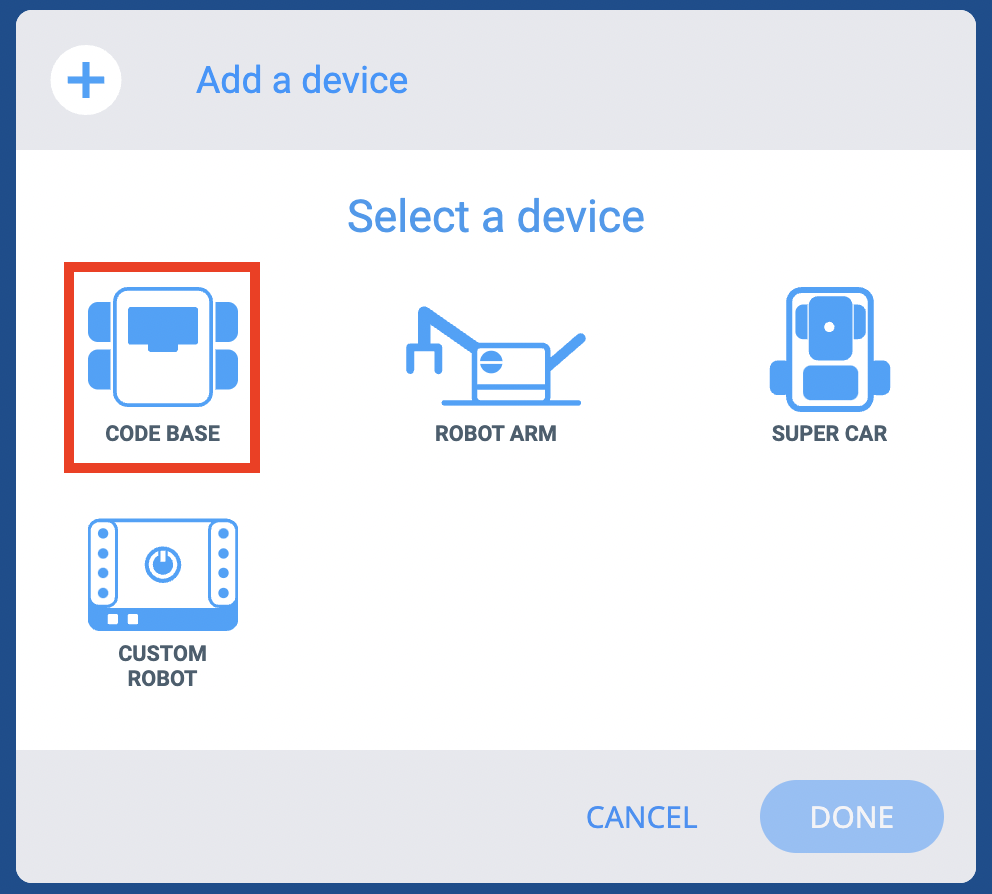
Then select ‘Code Base’ and click the ‘Done’ button.
Then all the blocks you need to code the Eye Sensor and LED Bumper will be in the Sensing category of the Toolbox.
Let me know if this solves your problem!
@Aimee_DeFoe It worked…thanks!